Key Points
- Create AI agents for free immediately after signup
- Auto-generate agents with Agent Casting URL input
- Customize persona and knowledge base in AI Studio
- Deploy to website instantly with simple script copy
Getting Started with voidX AI: From Signup to Deployment
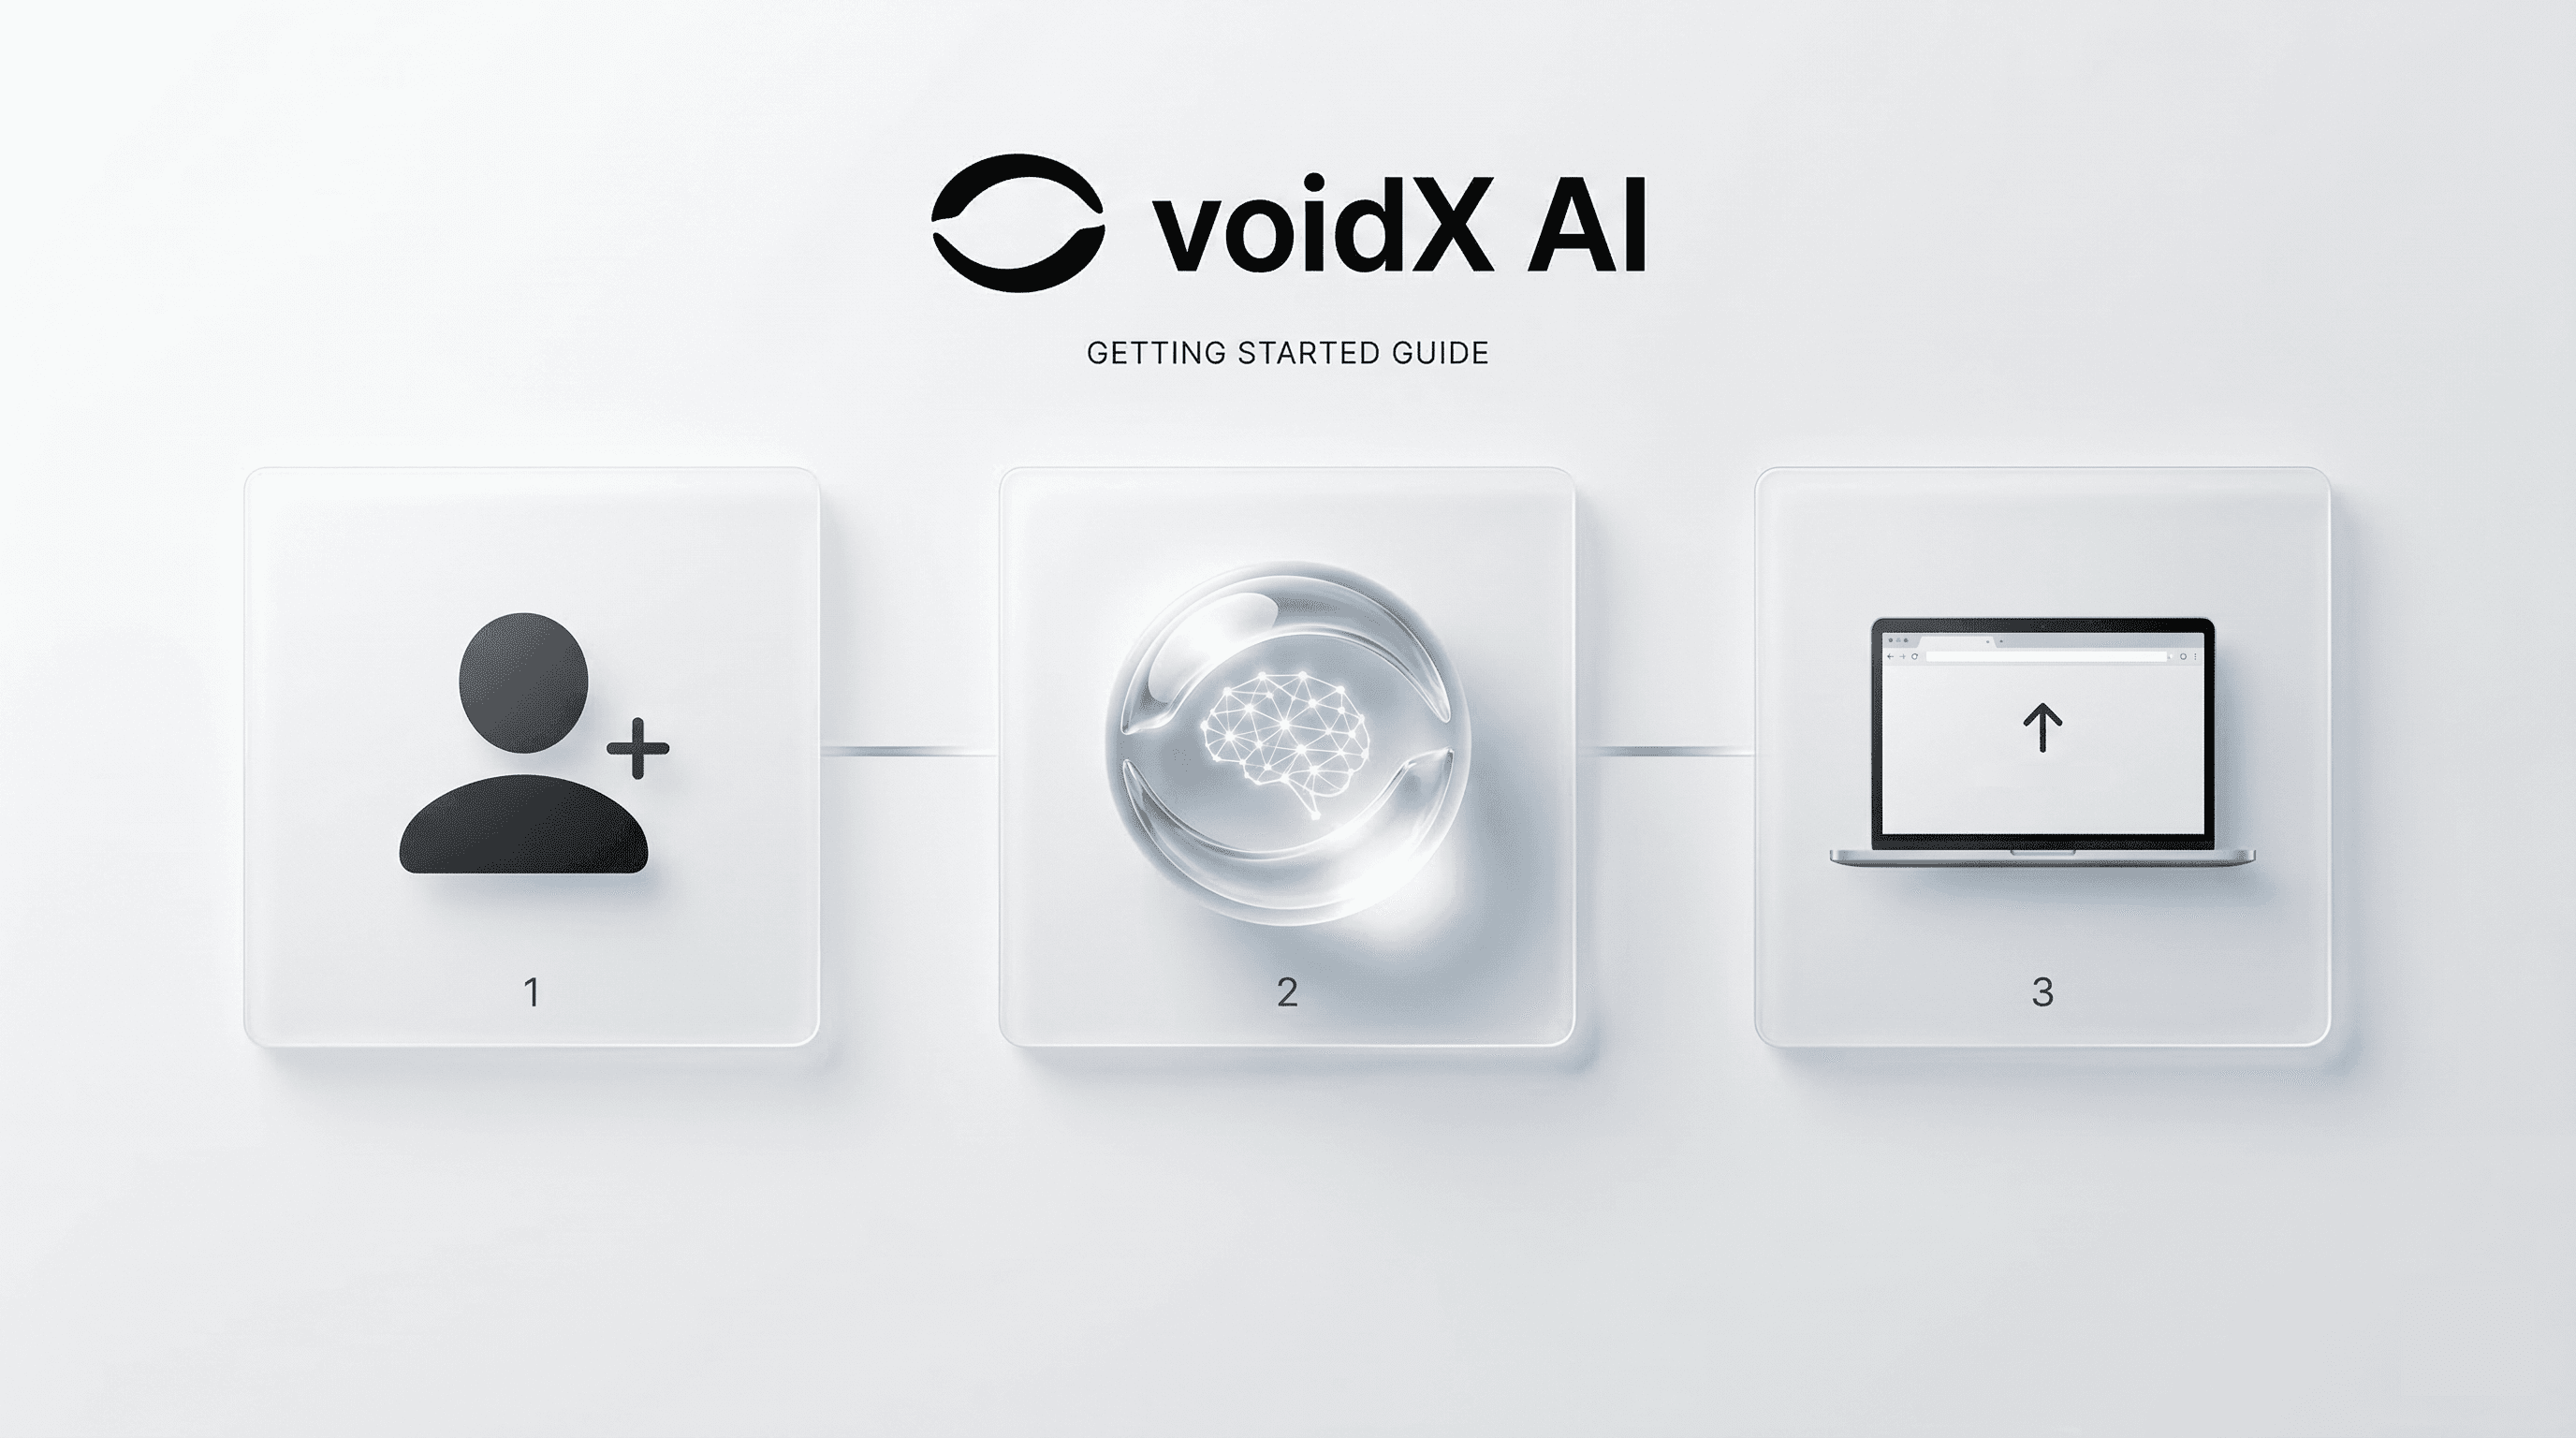
This voidX AI getting started guide walks you through signup, AI agent creation via Agent Casting, and website deployment step by step. Anyone can start their AI agent without any coding knowledge.
Before You Begin#
What You'll Need#
- Email address (for signup)
- Brand website URL
- Website HTML edit access (for deployment)
Step 1: Sign Up#
- Visit voidX AI
- Click "Get Started" in the top right corner
- Sign up with email or social login (Google, GitHub)
- Complete email verification
💡 Tip: Using social login lets you start immediately without email verification.
Step 2: Create Agent with Agent Casting#
2-1. Create New Agent#
- Click "Create New Agent" on the dashboard
- Select "Agent Casting" option
- Enter your brand website URL
2-2. Wait for Auto Analysis#
When you enter the URL, voidX AI automatically:
- Extracts brand name, logo, colors
- Identifies products/services
- Analyzes tone and manner
- Matches optimal industry vertical
Once analysis is complete, your custom AI agent is created!
2-3. Preview#
Have a test conversation with your generated agent:
- "Hello" - Check greeting response
- Ask about a product - Verify knowledge base
- "I want to return this" - Check CS handling
Step 3: Customize in AI Studio#
Not satisfied with the default agent? Fine-tune details in AI Studio.
Persona Settings#
- Name: Agent's name (e.g., "Sora", "Alex")
- Personality: Friendly / Professional / Humorous
- Speech style: Formal / Casual / Emoji usage
Add Knowledge Base#
- Upload FAQ documents
- Connect product catalog
- Set custom response rules
Smart Nudge Settings#
Proactive conversation initiation based on customer behavior:
- When staying on a page for 30+ seconds
- When attempting to leave with items in cart
- When reaching 50% scroll depth
Step 4: Deploy to Website#
4-1. Copy Deployment Code#
Dashboard → Select agent → "Deploy" tab → Copy code
<script
  src="https://cdn.voidx.ai/widget/v1/loader.js"
  data-agent-id="YOUR_AGENT_ID"></script>
4-2. Paste into Website#
Paste the code just before the </body> tag in your HTML.
Platform-specific installation guides:
- Shopify: Themes → Edit code → theme.liquid
- WordPress: Plugin or theme footer.php
- Wix: Site settings → Custom code
- Others: Direct HTML edit
4-3. Verify Installation#
Refresh your website and the AI agent widget will appear in the bottom right corner!
Next Steps#
Congratulations! 🎉 Your AI agent installation is complete.
Learn more:
Have questions? Use chat support in the dashboard or contact support@voidx.ai.
Frequently Asked Questions
Basic features are free to use. Paid plans are available for higher conversation volumes and advanced features.