voidX AI is a service that adds an AI agent to your website. Before installation, you create an account, pay for a plan, and let voidX AI read your site to prepare the agent's persona and knowledge. All four steps happen inside the console and require no code changes.
This document covers the order for adding the widget to a website you run yourself. A Cafe24 store completes the same preparation through app installation alone, without a voidx.ai account, so follow the Cafe24 paid app document instead.
The whole process takes about 30 minutes, including the wait for site analysis and knowledge collection.
Before you start
- Site address: a public address starting with
https:// - Payment card: one Korean-issued card. Card number, expiry date, first 2 digits of the PIN, and date of birth or business registration number
- Common policy text: policies scattered across your site, such as shipping fees and exchange and refund rules. Used for direct text entry in the knowledge registration step
Sign-up
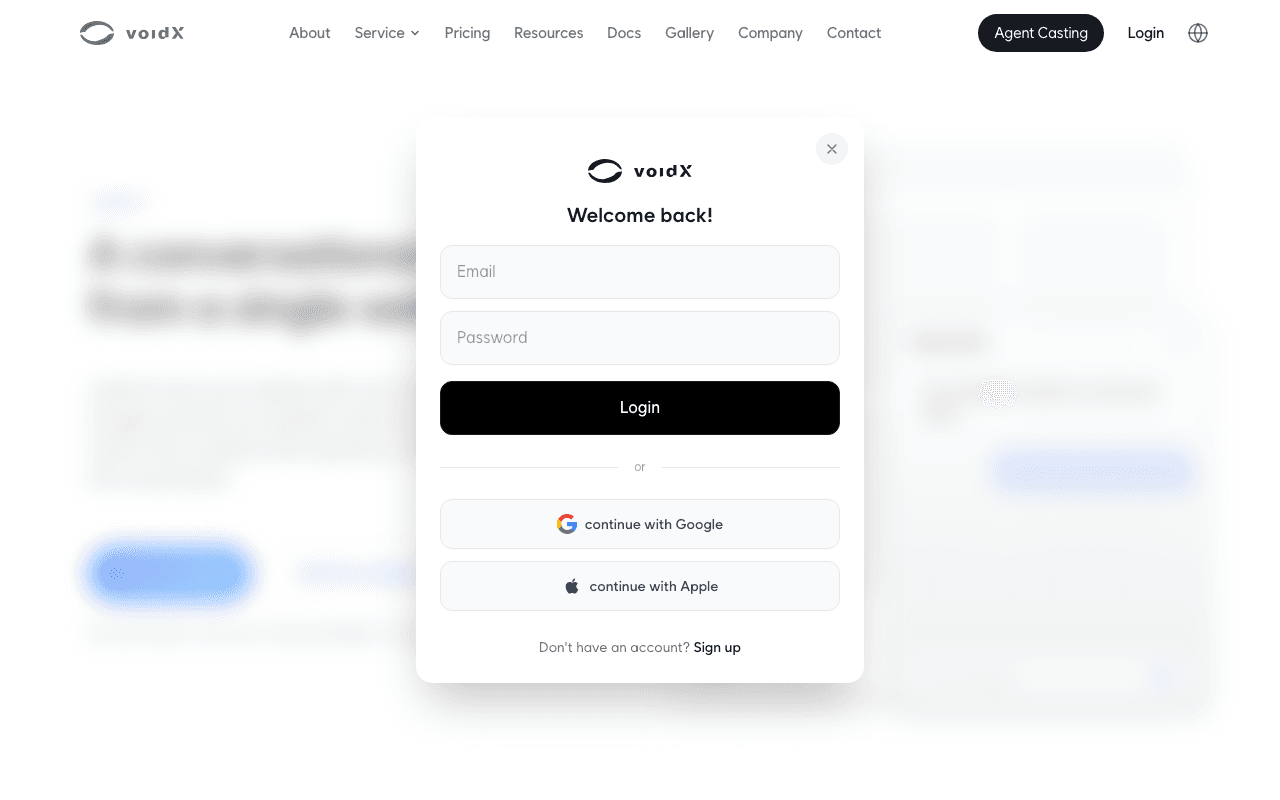
Clicking the "Login" button at the top right of voidx.ai opens the sign-up window. You can start right away with a social account or sign up with an email address.
- Click "continue with Google" or "continue with Apple". Sign-in runs in a pop-up and sign-up is complete.
- To sign up with email, enter your name, email and password, then click "Sign up".
- "I agree to the Terms of Service" and "I agree to the collection and use of personal information" are required. "I agree to receive marketing communications (optional)" is optional.
Signing up with email sends a verification email. Opening the link in the email continues verification automatically while you are signed in. If you do not see the email, check your spam folder. If the link has expired, click "Resend verification email" on that screen.
Even when you run the site with teammates, one account is enough. Start with the admin account, then add Editors or Viewers through manager invitations.
Plan payment
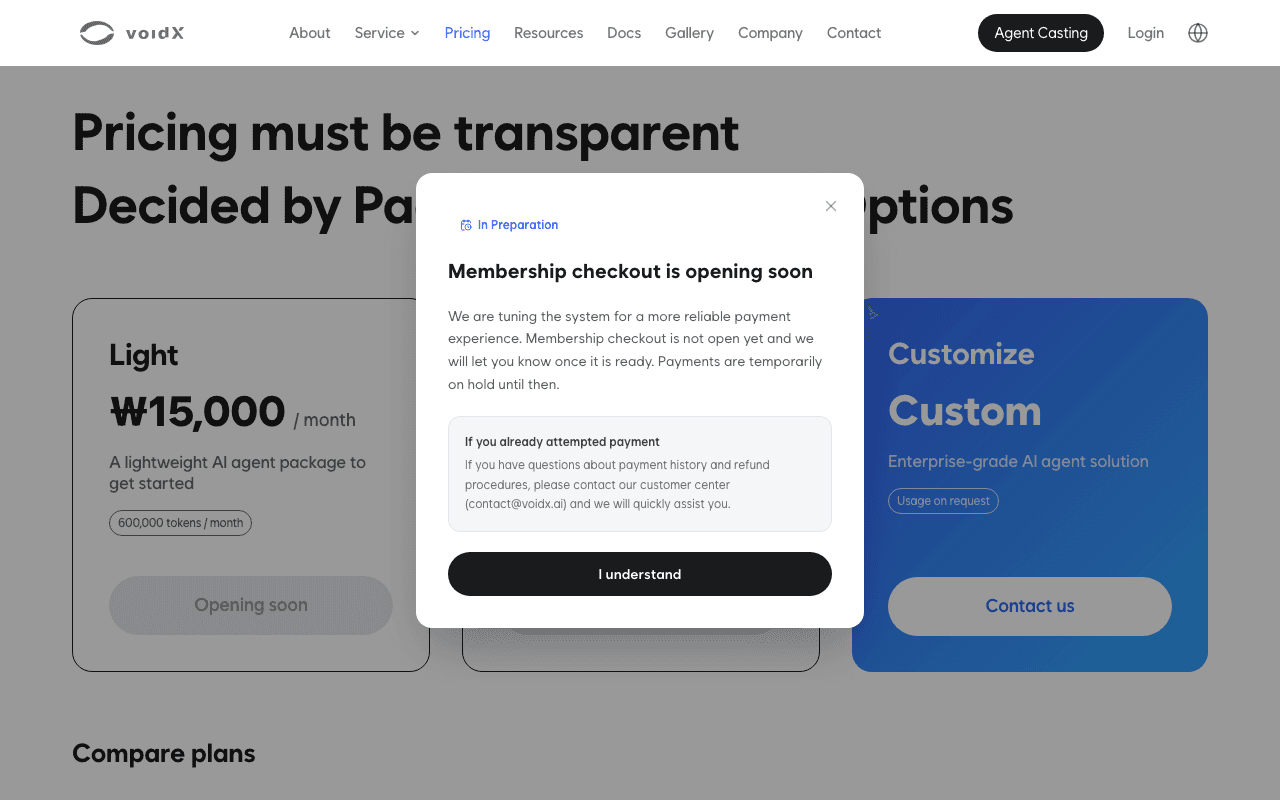
The persona and knowledge screens open only with a membership. Paying for a plan turns on the membership and unlocks the remaining steps.
| Item | Light | Premium |
|---|---|---|
| Monthly price | KRW 15,000 | KRW 99,000 |
| Monthly tokens | 600,000 tokens | 5,000,000 tokens |
| Automatic learning by crawling | None | 3,000 pages per month |
| Prompt customization | None | Included |
Prices shown exclude VAT. Each chat session deducts 16,000 tokens. Top-ups are available only in the Cafe24 and Shopify apps, and for a directly installed widget, you change to a higher plan when tokens run low. Token rules are explained in Tokens and usage.
Payment is made in the console with a single card.
- On the pricing page, click "Get started" for the plan you want.
- Under "Payment method" on the checkout screen, click "Register a card" and enter your card details. Only one card can be registered. Registering a new card automatically removes the previous one.
- Clicking "Pay now" shows a confirmation message. Clicking "Pay" charges the registered card immediately, and it is then charged automatically on the same date every month.
- When payment is complete, the "Manage Membership" screen opens and the status shows "Active".
Plan changes and cancellation are covered in Membership and billing.
Site casting
Casting is the process of preparing the agent from a single site address. voidX AI reads the site to identify its industry and tone. When you connect the result to your site, a matching persona is applied to the agent and a widget key is issued.
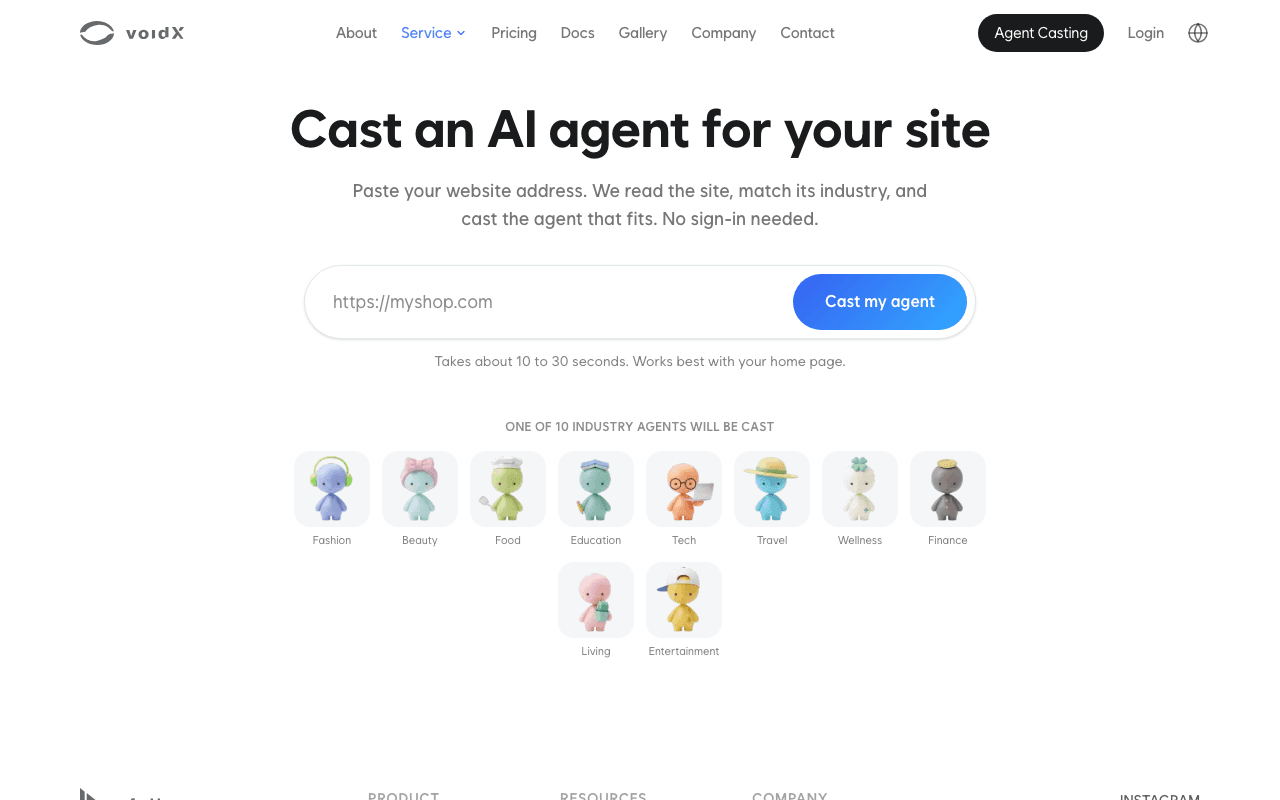
- In the left menu of the console, open "Connect agent" and click "Cast your site". The public casting page opens.
- Enter your site address and click "Cast my agent". After 10 to 30 seconds, the industry agent appears as the result.
- Click "Start with this agent". The result is saved to your account and you return to "Connect agent".
- In the "Next up" card, click "Connect this address", then click "Connect" in the confirmation.
- When "Connected." appears, the persona is applied and the widget key is issued.
Connecting requires both the Admin role and a membership. Editor and Viewer accounts see a note to connect with the Admin account instead of the connect button.
The connect confirmation also shows a notice that sites in regulated industries such as finance and healthcare are outside the service scope. The operator is responsible for checking whether the site belongs to such an industry.
Even if the analysis fails while connecting, the widget key is issued normally. In that case the agent responds with its default behavior, and you can check the address and connect again.
After connecting, you can edit the agent's name, greeting, tone and business instructions from the "My Persona" menu. The screen is described in Persona and casting, and what casting reads and produces is described in Persona casting.
Knowledge registration
The agent answers only within the registered knowledge. Without knowledge, it does not know your site's content, so finishing this step before installation is what makes accurate answers possible from the first conversation.
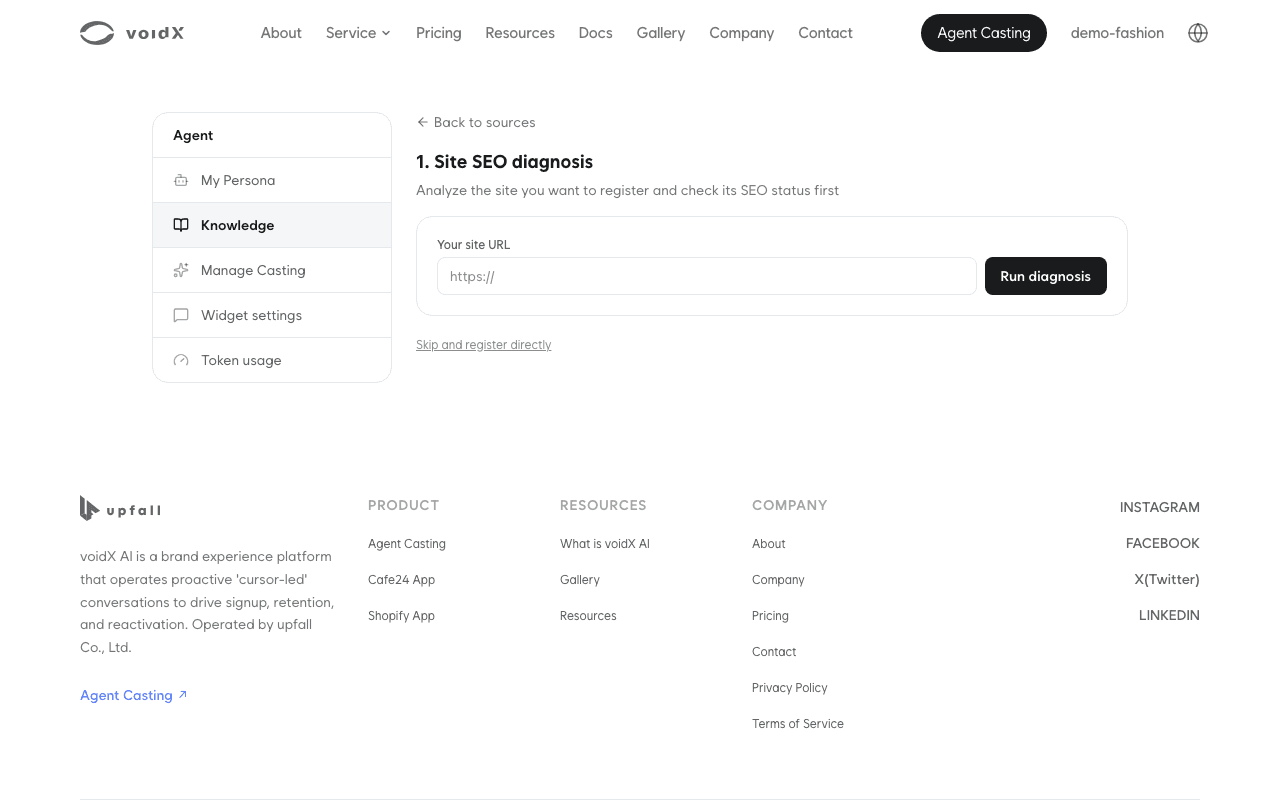
- In the left menu of the console, open "Knowledge" and click "Add knowledge".
- In step 1, "Site SEO diagnosis", enter your site address and click "Run diagnosis". Only
https://addresses are accepted. The result is for reference, and you can proceed with collection regardless of it. To register without a diagnosis, click "Skip and register directly". - In step 2, choose how to add knowledge.
| Method | Behavior | Use |
|---|---|---|
| Collect entire site | Collects all pages of the site | First registration |
| Single URL | Collects one page immediately | Adding a specific page |
| Paste text | Direct entry of policies and notices | Shipping and refund rules not on the site |
- With "Collect right after registering" turned on, click "Register and start collecting".
Collection has limits. Collecting the entire site ends at up to 1,000 pages or up to 15 minutes, whichever comes first, and a single URL collects up to 400KiB per page. Every method deducts from today's collection count, even when it fails. The registration screen shows the same text.
Knowledge registered as text does not appear in the list and cannot be edited or deleted after registration. Register content that may change through site collection.
Once collection starts, the status badge in the list moves from "Pending" through "Collecting" to "Ready". If it shows "Failed", open the source to check the cause and try again with "Start collection".
Setup check
| Item | How to check |
|---|---|
| Membership | Check that the status on the "Manage Membership" screen is "Active" |
| Persona | Check that the agent name and greeting are filled in on the "My Persona" screen |
| Connection | Check that the agent card in "Connect agent" shows "Live on your widget" |
| Knowledge | Check that the status in the "Knowledge" list is "Ready", then enter a question such as "How much is shipping?" in the "Search check" tab and check that up to 5 related results appear |
If the search results are empty, either collection has not finished or the content is not on the site. If the status badge is "Ready" and the results are still empty, add that content with Paste text.
Next steps
- For the procedure to add the widget to your site, see Widget installation.
- For the conditions your site needs for product recognition and knowledge collection, see Preparing your site.